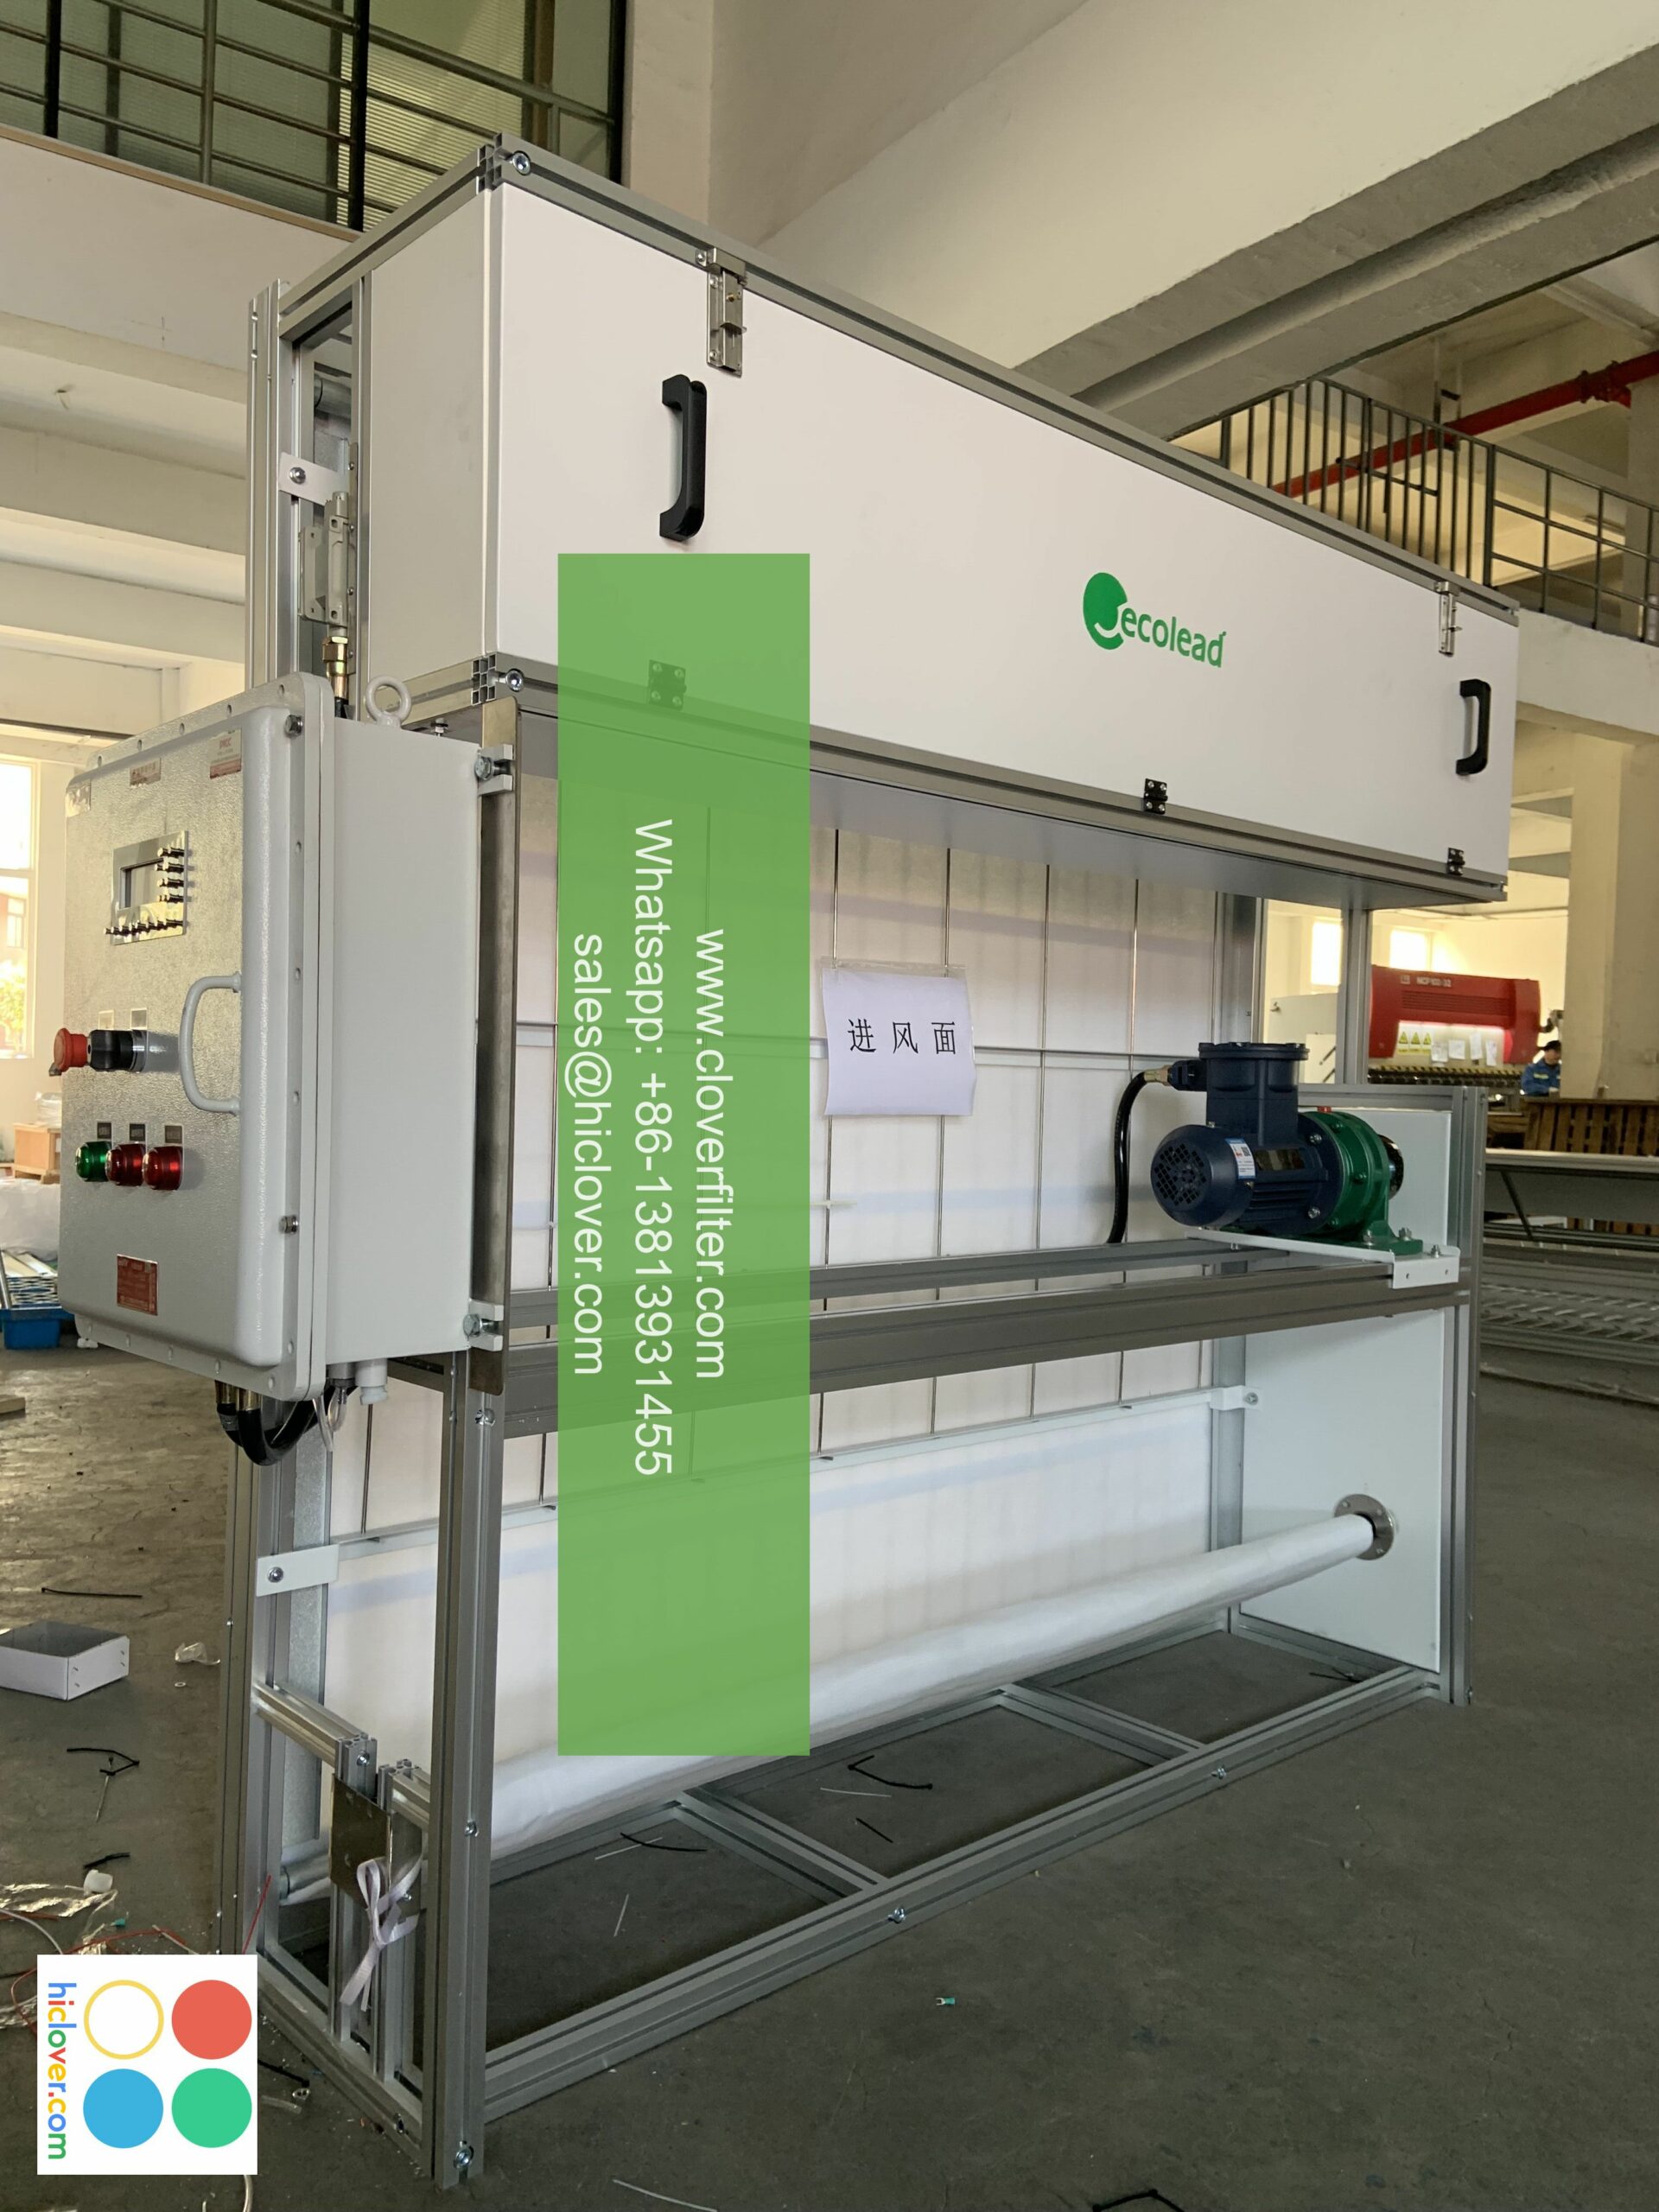
DIY Guide: Measuring and Installing Air Filters with Ease

DIY Guide: Measuring and Installing Air Filters with Ease
Having a well-maintained HVAC system is essential for a healthy and comfortable living or working space. One crucial aspect of this is ensuring that your air filters are clean and functioning correctly. In this DIY guide, we will walk you through the process of measuring and installing air filters with ease, covering various application areas.
Measurement 101
Before beginning the installation process, it’s essential to measure your current air filter to ensure you purchase the correct replacement. You can find the dimensions of your current filter on the manufacturer’s label or on the filter itself. Typically, you’ll see the dimensions listed as Length x Width x Height (e.g., 16" x 20" x 1").
Common Air Filter Sizes
- Small (6"-10")
- Medium (12"-14")
- Large (16"-20")
- Extra Large (24"-36")
- A dedicated filter housing
- The return air duct
- A portable air purifier
- A central air handler
- Always handle filters with care to avoid damage or contamination.
- When replacing filters, make sure to clean up any dust or debris around the filter area to prevent re-contamination.
- In areas with high humidity or pets, consider upgrading to a HEPA-filter or high-capacity filter for optimal performance.
- Ensure correct filter selection for specific commercial or industrial equipment, as specified by the manufacturer.
- Regularly inspect and replace filters to maintain optimal system performance and extend equipment lifespan.
- Replace filters every 1-3 months, depending on usage and conditions.
- Consider upgrading to smart filters for remote monitoring and filter replacement alerts.
- Install filters with a higher MERV rating for better indoor air quality in food service and industrial settings.
- Regular cleaning and replacement of filters ensures optimal performance and food safety.
- Air Filter Sizing Chart
- Air Filter Replacement Guide
- Air Quality 101
Installing Your New Air Filter
Step 1: Turn off the Power
Before starting, ensure you switch off the power to the HVAC system at the circuit breaker or main fuse box. Verify the power is off using a non-contact voltage tester.
Step 2: Locate the Filter
Find your air filter, usually situated in one of the following areas:
Step 3: Remove the Old Filter
Carefully pull out the old filter, taking note of any arrows or markings on the filter for proper installation orientation.
Step 4: Install the New Filter
Place the new filter in the filter housing or return air duct, ensuring it’s properly seated and secure. Align the new filter with the arrows or markings, if applicable. Gently push the filter in until it’s firmly seated.
Tips and Precautions
Common Applications and Best Practices
Commercial and Industrial Settings
Residential and Home Care
Industrial and Food Service
Measuring and installing air filters is a simple and essential task to maintain a healthy and productive environment. By following this DIY guide, you’ll be well-equipped to handle this task with ease, ensuring optimal performance and air quality.
Additional Resources
Related Keywords: DIY, air filter, HVAC, measurement, installation, air quality, maintenance, industrial, commercial, residential, home care, industrial, food service.
I’d be happy to help! What’s the prompt you’d like to give me?


